The Moment
The new lights looked great. Bright, modern, way better than the dim, yellowed fixtures that had been hanging in that gym since the disco era. The basketball team was warming up. The stands were filling. Everything looked ready.
Everything was ready. Except the camera.
The Real Problem
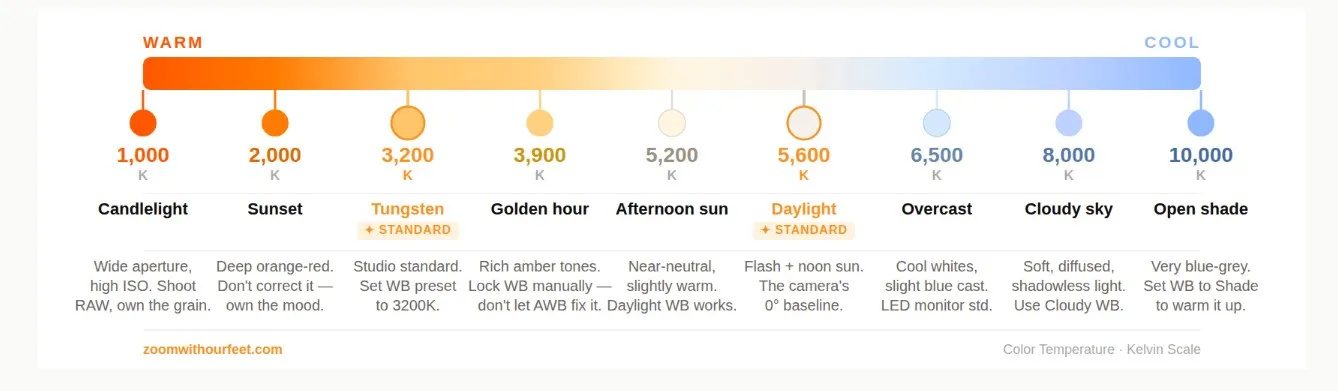
White balance explained simply: it’s the setting that tells your camera what white actually looks like under the light you’re shooting in. Here’s why that matters: every light source casts a different color, and that color is measured on something called the Kelvin scale, a temperature scale that runs from warm to cool. Candlelight sits around 2000K and glows amber. Midday sunlight runs around 5500K and reads as neutral white. Overcast skies push past 6500K and go cool and blue. Your eye adjusts for all of this automatically. Your camera doesn’t. It needs to be told.
Most shooters leave it on AWB, Auto White Balance, and move on. And honestly, AWB is pretty good. Modern cameras handle it reasonably well in mixed or changing light. But reasonably well and right are two different things. And when the light is consistent and predictable, like it is in a gym with fixed overhead fixtures, AWB is just leaving a decision up to the camera that you should be making yourself.
Rule #416: Don’t be TMac. I shot an entire game under those new warm-tinted LED fixtures on AWB. Every frame came back with a color cast that looked like the game was played inside a jar of honey. I fixed it. All of it. Every. Single. Frame. Seven hundred images, corrected one batch at a time in post.
It took longer than the game.
The Fix
Before you shoot, look at the light. Then set your white balance to match it.
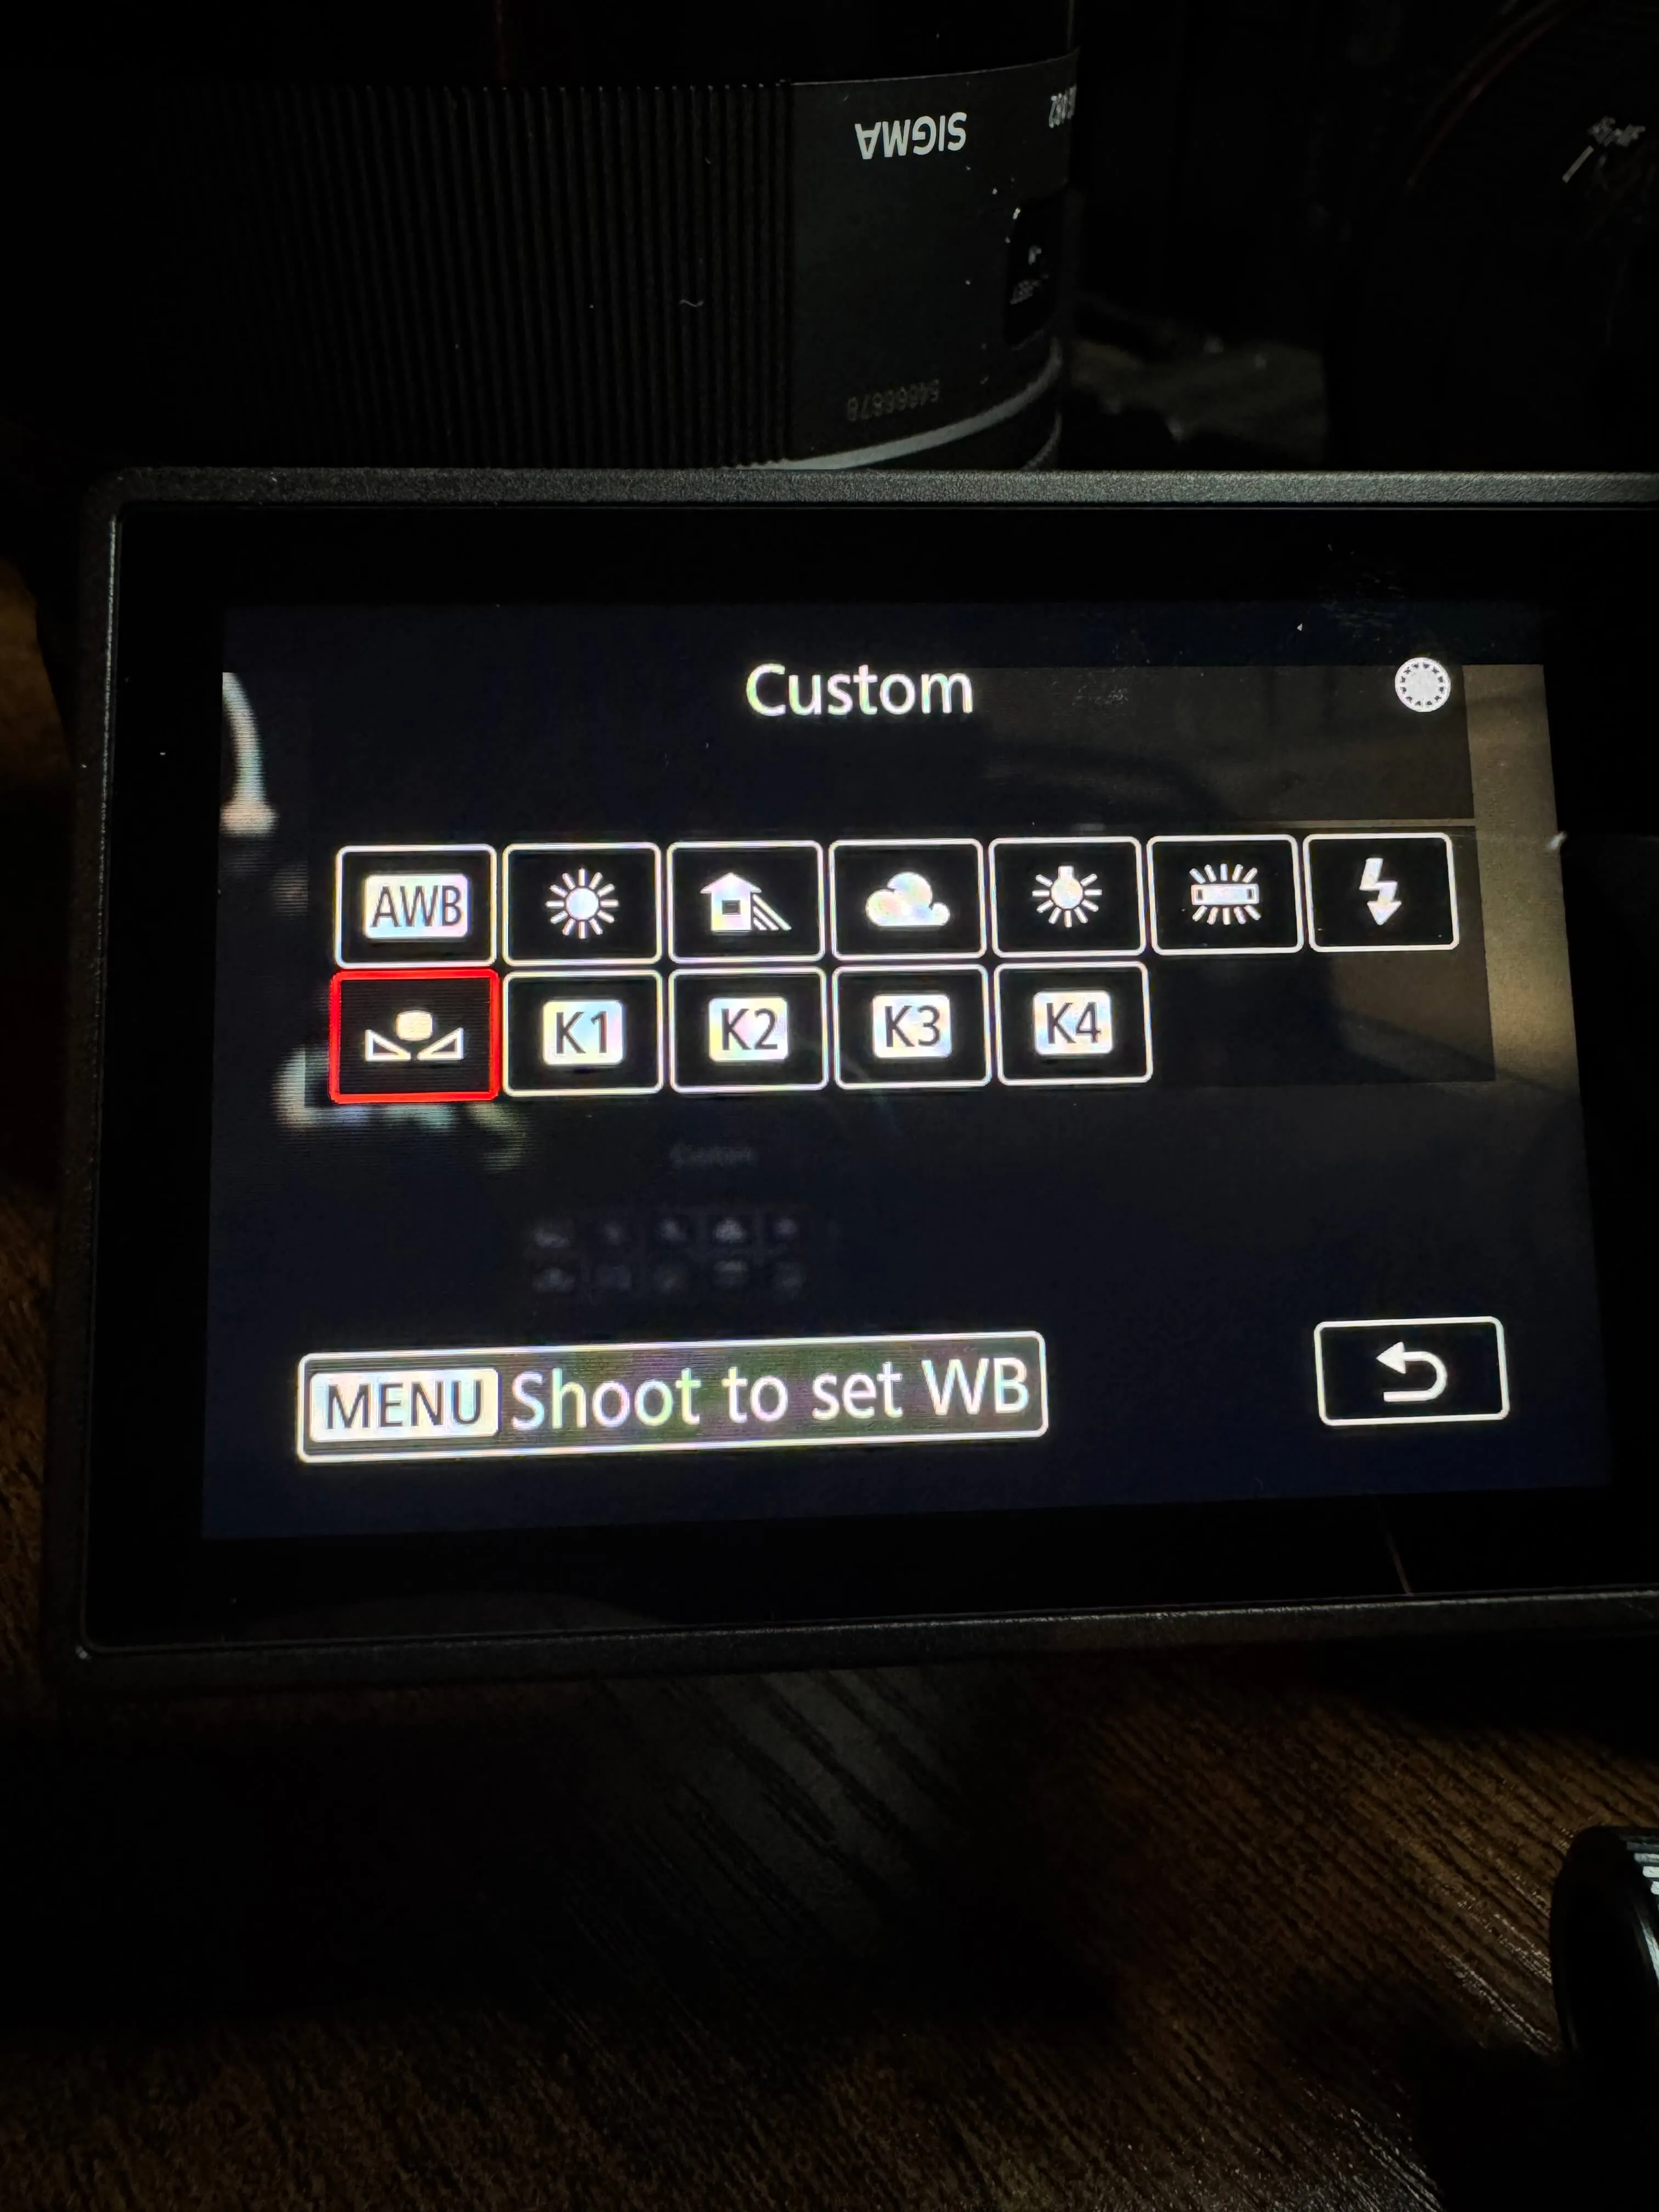
Most cameras give you a menu of presets: Daylight, Cloudy, Shade, Tungsten, Fluorescent, Flash. Where you find them depends on what you’re shooting with. On a DSLR, white balance is typically buried in the shooting menu, look for a WB option or tap the dedicated WB button if your camera has one. On a mirrorless camera, it’s usually right on the quick settings screen or assignable to a function button. Either way, once you’re in there, pick the preset closest to your light source and take a test shot. Does white look white? Does skin look like skin? Adjust from there.
If your camera allows it, a Custom White Balance, where you photograph a white or gray card under your actual light and set that as the reference, is even better. But the preset gets you 90% of the way there, and 90% before the shoot beats 100% fixed in post every time.
The goal is simple: make the decision at the camera, before the first frame. Not at the computer, after the seven hundredth.
The Sideline Lesson
There’s a version of this story that sounds like a post-processing argument. The “fix it in post” crowd isn’t wrong, the tools exist, they work, and sometimes you need them. But reaching for them first is working at the wrong end of the process.
Every decision you make at the camera saves you from making ten decisions at the keyboard. That’s true for exposure. It’s true for composition. And it’s absolutely true for white balance. The further downstream you push a problem, the more expensive it gets, in time, in quality, and eventually in moments you can’t recover at all.
The moment before the moment is where photographers work. White balance is just another reminder that the job starts before you press the shutter.
The Takeaway
Your camera doesn’t know what white looks like. You do. Tell it before you shoot.
In The Lab
Try this: Next time you shoot indoors, don’t leave white balance on AWB. Take two minutes before the action starts. Look at the light source. Pick the closest preset. Shoot a test frame. If it looks warm, go cooler. If it looks blue, go warmer. Dial it in before the first moment happens, not after the last one.
Rule #416 strongly recommends the two minutes of your time.
Trust it. Trust yourself!
—TMac #shooton
