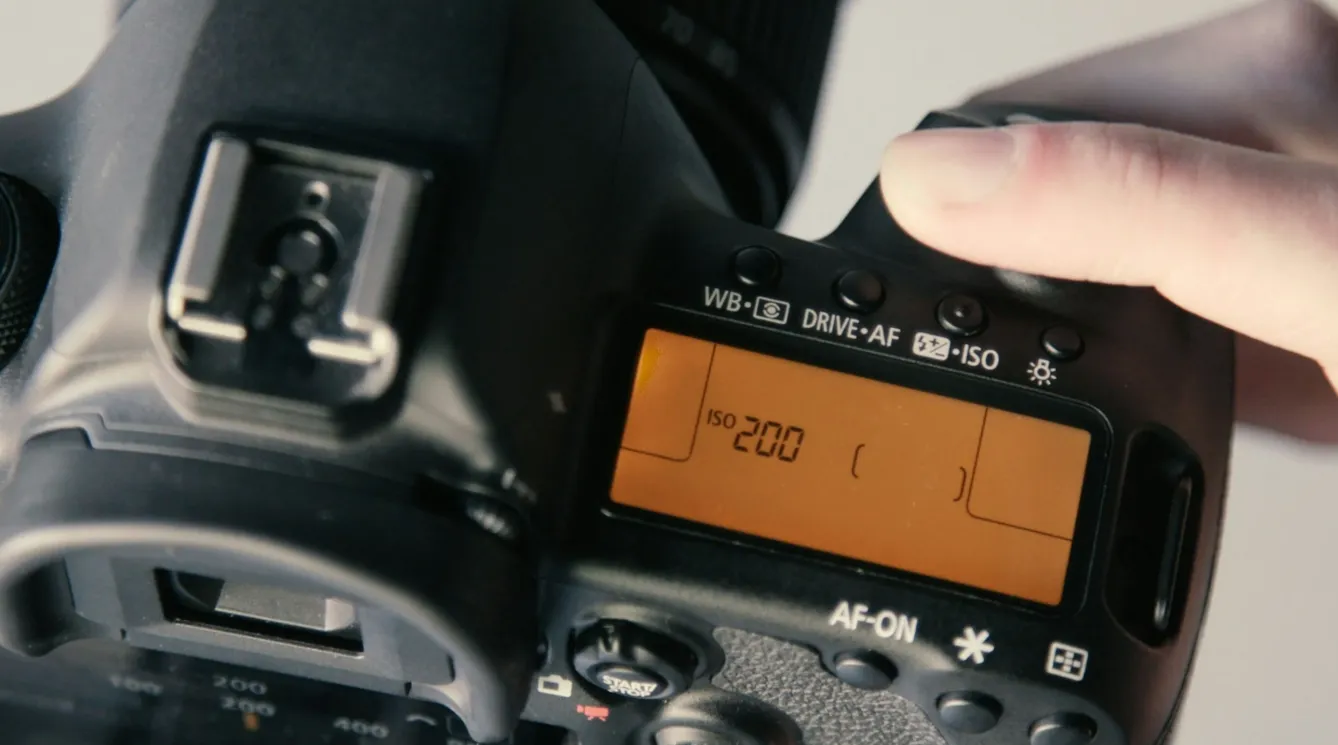
Welcome to the Photo Lab: where we learn to think like photographers, not just shoot like one. This is Unit 3, Lesson 3. We’re inside the unit where you take control of your camera, and this week we’re talking about ISO: what it is, what it costs you, and why one of the best-kept secrets in professional photography is that nobody is ashamed to let it run on auto.
ISO: Let the Camera Chase the Light
The Moment
When ISO Makes the Shot
The gym smells like floor wax and old bleachers. The lights overhead have been up there since disco, fluorescent tubes humming away, throwing just enough light to see the game and not nearly enough to photograph it. You’ve got your aperture locked, your shutter speed locked, and your ISO set to auto. The camera reads the room, bumps to 8000, and you get the shot. Clean enough. Sharp enough. Good enough to tell the story.
That’s not a compromise. That’s a decision.
The Real Problem
What Beginners Typically Get Wrong About ISO and Noise
Somewhere along the way, (mostly from purists proclaiming absolutes) beginners got the idea that “real” photographers control everything manually, all the time, no exceptions.
The ISO conversation usually goes like this: grain is bad, noise is failure, and if you’re pushing your ISO above 1600 you’ve done something wrong. Meanwhile, working photographers are in gyms, arenas, auditoriums, and reception halls every week, shooting at 6400, 8000, 12800, and they are not losing sleep about it. They set their aperture for the depth of field they want, set their shutter speed for the motion they need to freeze, and they let ISO do what ISO is supposed to do: find the light that’s left.
The Fix
How ISO Works. And What It Costs You in Noise
ISO controls your camera sensor’s sensitivity to light. ISO 100 is where we all want to be in perfect lighting. Lighting, however, is rarely perfect.
Here’s the tradeoff, and it hasn’t changed in thirty years: more sensitivity means more noise. Digital cameras call it noise. Film photographers called it grain. In the 1990s, when 800-speed film hit the market, photographers pushed it to 1600 and 3200 in the darkroom and lived with the results. The physics are identical. The only thing that changed is the number on the box.
What has changed is the context. Most images today are viewed on a phone screen, a tablet, or a laptop, not printed at 16x20 and hung on a wall. At screen resolution, ISO 8000 noise is far less visible than the photography internet would have you believe. Today’s cameras also have built-in noise reduction that handles a significant amount of the problem before the image ever leaves the sensor. You’re not shooting for a billboard. Shoot accordingly.
The professional move, used regularly by photographers who do this for a living, is to lock aperture and shutter speed manually and set ISO to auto. Let those two settings carry your creative intent. Let ISO handle the math. On a cloudy afternoon or under gymnasium lights from the Ford administration, that’s not cheating. That’s control.
The Sideline Lesson
Why Auto ISO Is a Professional Tool, Not a Shortcut
Some photographers will tell you that fully manual is the only way. Those photographers have never shot a JV basketball game under fluorescent lights at 6pm on a Tuesday. ISO sensitivity is not a modern invention. It is not a digital shortcut. It is the same fundamental tradeoff photographers have been making since they were loading film into a camera in the dark. The number is bigger now. The decision is the same.
Understanding what ISO is doing, and why, is the lesson. Whether your finger is the one turning the dial is beside the point.
The Takeaway
Let ISO Chase the Light
Lock what matters. Control what counts. As we like to say in the lab: “Crank the ISO, live a little!” And yes, there’s a t-shirt for that!
In the Lab
Try This ISO Exercise This Week
Try this: Find the darkest decent-light situation you can, a gym, a restaurant, an indoor event, and shoot it twice. Once with ISO locked at 400 and once with ISO on auto. Compare the results on your screen. Notice what the camera chose. Notice what it cost you in noise. Notice whether it actually matters at the size you’re viewing it.
Then decide. That’s the whole lesson.
Trust it. Trust yourself!
—TMac #shooton
