Getting better sports photos has nothing to do with buying a better camera, a longer lens, or any new gear at all. The single biggest positioning mistake beginner photographers make is also the most fixable, and it costs nothing. If your sports photos look flat, distant, or emotionless, the problem isn’t your equipment. It’s where you’re standing.
Prologue: I’ve covered games at every level, and I can tell you this: how you’re positioned matters more than what you shoot with.
Let’s get something out of the way: Shooting sports from the stands is a technique trap.
It feels comfortable. It feels familiar. It feels safe. And… it guarantees mediocre photos.
From the stands:
- your kid is a speck
- the action feels distant
- every frame looks like it came from a security camera
So beginners think or hear a version of this every time: “You need a better lens.” Nope. You don’t need more expensive glass. You need better technique for free! You need better positioning.
Good sports photos aren’t made by standing still and zooming in. That’s cruelty to pixels. Good images are made by moving your feet, choosing angles, looking at the sun’s direction, and anticipating where the moment will happen.
Hey, around here, we have a name for that: Zoom With Our Feet!
Today, we fix the “stands problem,” without spending a dollar.
Why Shooting From the Stands Fails (Technique Mechanics)
The stands sabotage your photos for three structural reasons:
1. You’re Too Far Away
Distance magnifies every weakness:
- camera shake
- motion blur
- focus hunting
- sloppy framing
Distance kills detail. Detail carries emotion.
2. The Angle Is Wrong
From the stands, you’re shooting down on the action.
Downward angles:
- flatten athletes
- shrink the moment
- remove intensity
Power comes from eye level or slightly below. If you want athletes to look fast, strong, and engaged, you can’t look down on them.
3. You Can’t Read the Story
From up high, everything becomes a wide shot.
Wide shots are for coaches. Tight shots are for storytellers.
The stands disconnect you from:
- faces
- reactions
- emotion
- anticipation
You’re watching the game, not creating memories.
The Fix: Get Closer Without Buying Gear
This is pure technique. No purchases required.
1. Move — Even a Little
You don’t need sideline credentials at a youth game. Walk to the fence and wait until play comes to the side. Walk to the end line and wait for the subjects to come at you.
Ten feet closer is a massive upgrade.
2. Get Low
Crouch. Kneel. Sit. And yes, lay on your belly!
Low angles make athletes look:
- bigger
- faster
- more powerful
No one has ever complained that a great photo came from too low of an angle.
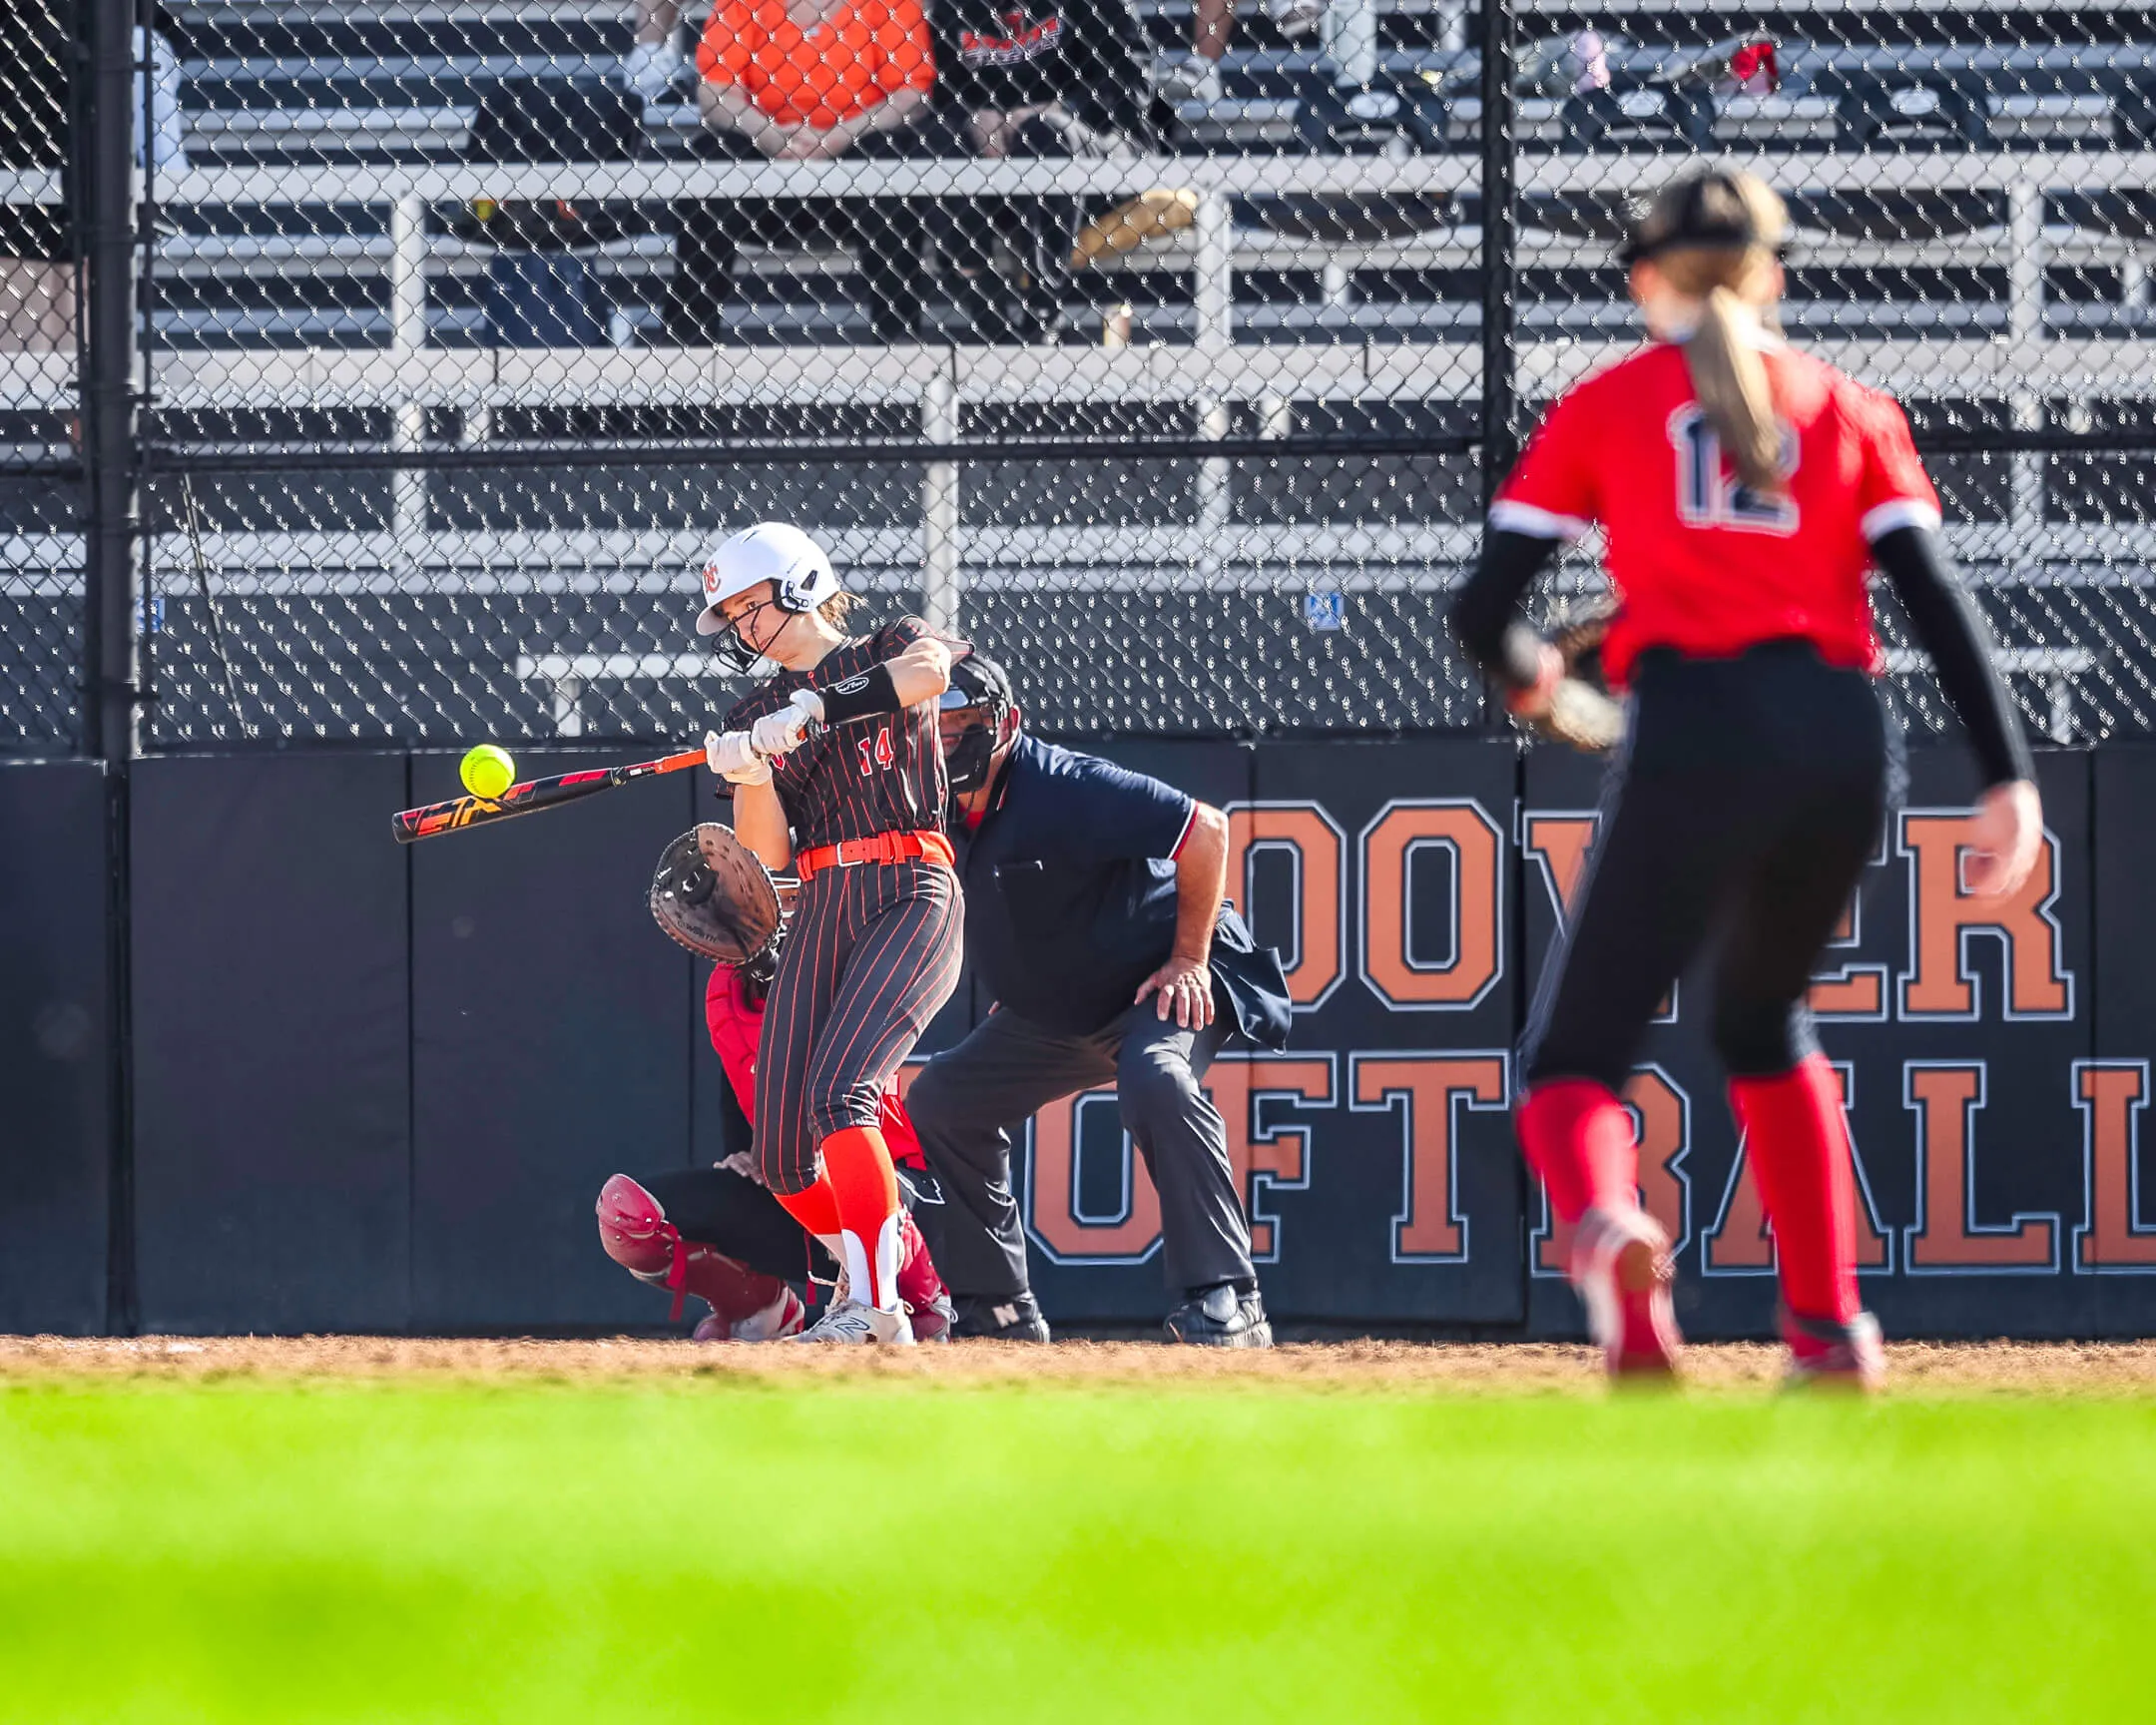
Teaching Moment: Go back and look closely at the image at the top of this post. That is the fine art of “Belly Low” in photography. Always be nice to people, I tell my students. Here’s why.
That photo was taken from outside the fence in centerfield — and yes, I was laying flat on my belly.
When I arrived at “the spot,” out in centerfield on the fence, one of the player’s grandmothers already had her chair set up there. As I approached, she said, “I’m not moving.”
I said, “Do you mind if I lay underneath your chair?”
She looked at me funny. I said, “I will be on my belly the whole time.”
Once I got into position and we were both comfortable, I said, “Are you gonna kick me?”
She responded, matter of factly, “That depends on how big his strike zone is for my granddaughter.”
Here’s to a tight strike zone. I gave her a copy of her daughter’s at-bats.
3. Shoot From the Ends, Not the Middle
At most sports, the middle gives you backs and clutter.
The ends give you:
- faces turning toward you
- celebrations coming at you
- emotion moving into the frame
End line areas are where moments finish.
4. Anticipate Where the Play Is Going
Don’t chase the ball. Position yourself where it will arrive.
- Soccer → wings and goal box
- Basketball → baseline
- Football → end-zone corners
This is Zoom With Our Feet in action: movement + anticipation.
5. Work the Edges Like a Pro
Even if you can’t step on the field, you can steal the angles. Stand where a photographer would stand if allowed. Angle with faces and eyes and emotions pointed at you beats access, and leads to good photos.
Lab Time — Getting Closer With the Gear You Already Have
Two labs this week: one outside, one inside.
Outside Lab — The Fence Line Exercise
Purpose: Feel how distance destroys or improves your photos.
Steps:
- Arrive 5–10 minutes early to a game or event.
- Take one photo from the stands.
- Move to the fence or end line.
- Take the same type of shot of your kid.
- Compare.
What you’ll see: better faces, less blur, cleaner backgrounds, more emotion.
Distance is the enemy of clarity. These lab images should seal it in your mind.
Inside Lab — “Angle Is Everything” Demo
Purpose: Train your eye without a field.
Gear:
- toy figure / LEGO / action figure
- cup or block
- phone or camera
Steps:
- Photograph the figure from above.
- Photograph at eye level at the face.
- Photograph from slightly below.
What you’ll see: top-down — weak, passive. Eye-level — clear, engaging. Low angle — powerful, heroic.
This is exactly what happens with athletes.
Phone Shooters: Your Secret Weapon Is Mobility
Phones aren’t a disadvantage here, they’re freedom.
- you move faster
- you can shoot low easily
- wide lenses force you closer (good!)
Your phone is begging you to Zoom With Your Feet. Listen to your feet!
Common Mistakes to Avoid
- staying glued to the bleachers
- shooting every frame from the same angle
- standing up the whole game
- using digital zoom to fake closeness
- camping at midfield
Final Takeaway
Great sports and action photos don’t come from expensive lenses. They come from where you stand and when you move.
If you want better shots:
- move closer
- get low
- work the ends
- anticipate
- stay mobile
The stands are for spectators. The fence line is for photographers.
—TMac
Photographer | Teacher | Coach | Head Zoom Jockey, ZoomWithOurFeet
#Shooton
