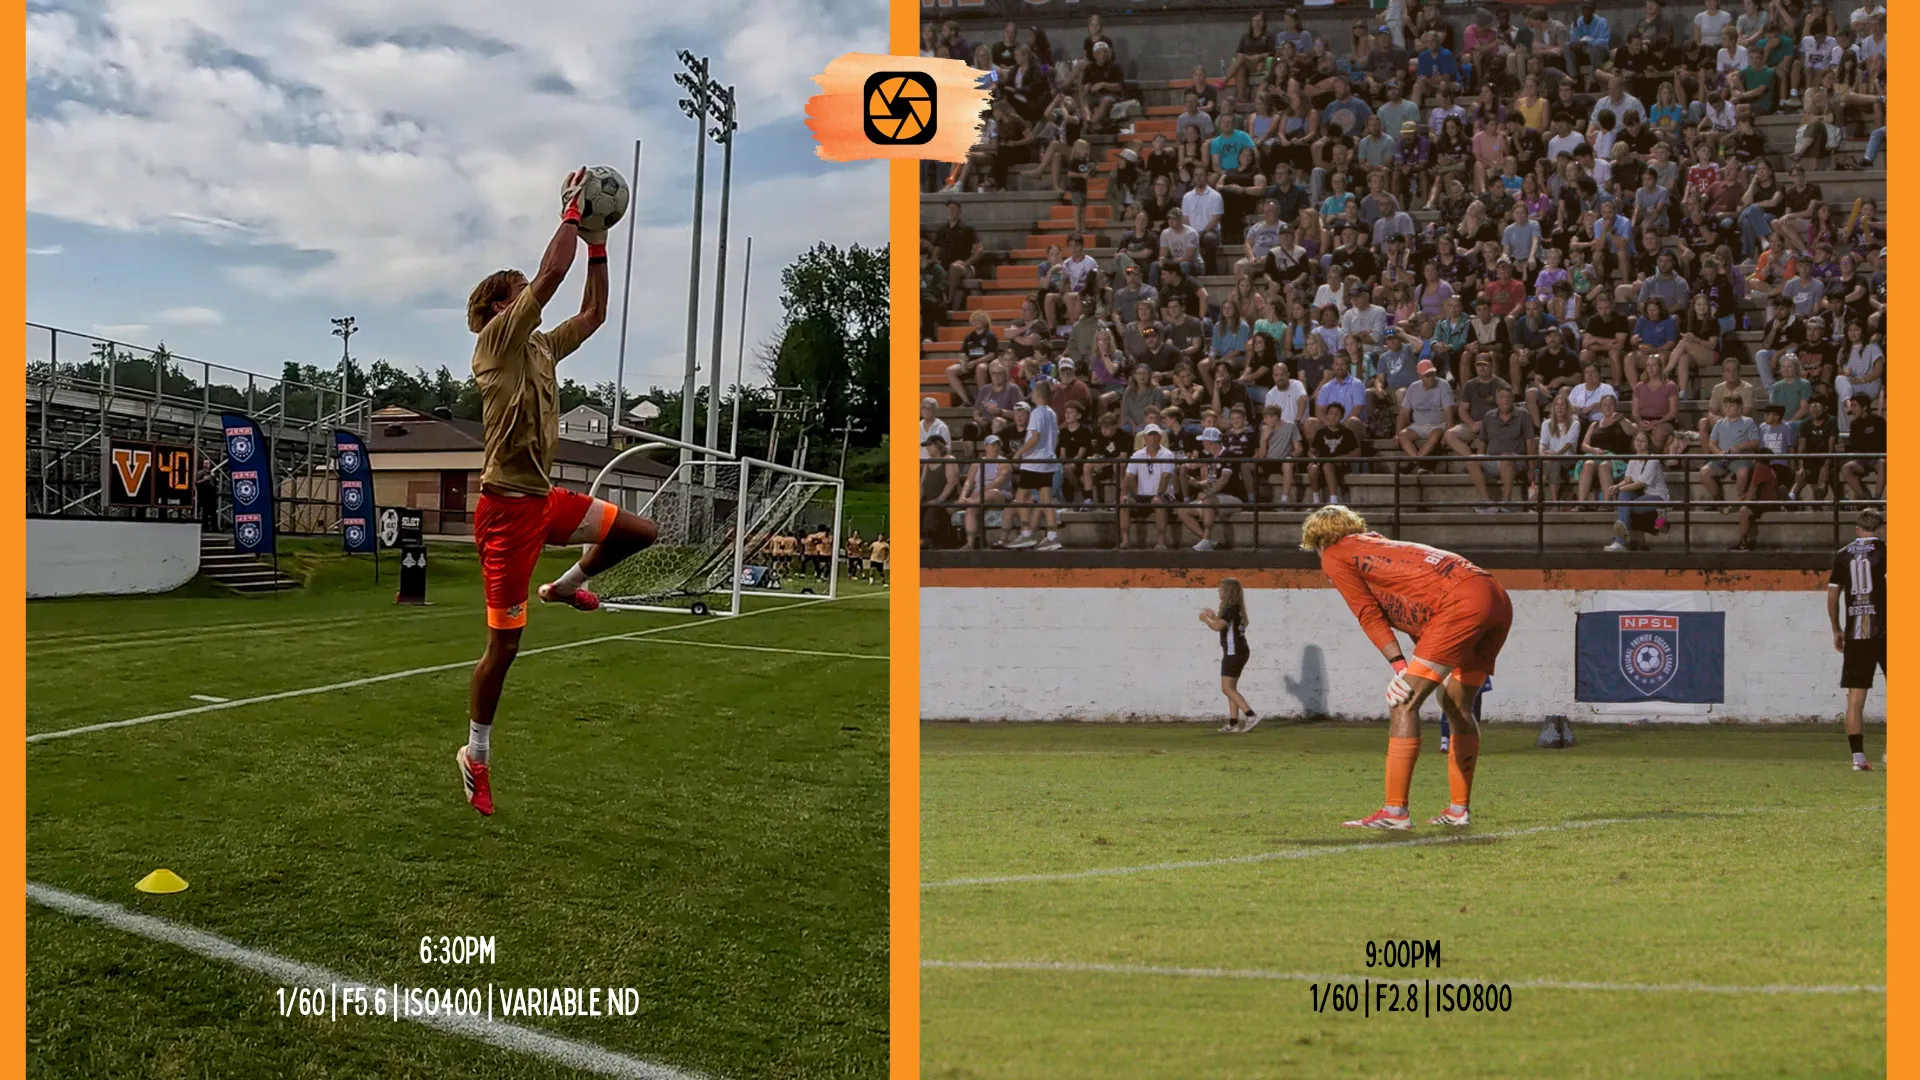
Same game. Same photographer. Two different decisions about white balance.
Bristol. National championship. 7pm kickoff, full daylight, not a cloud doing me any favors. Three hours later I’m shooting a trophy lift under stadium lights with the sky long gone black. Same game. Two completely different colors of light. If I’d set white balance once at kickoff and left it, my highlight reel opens looking like a summer league match and closes looking like it was shot on Mars.
So I didn’t leave it. Every thirty minutes or so, as the light shifted, I threw a white towel down on the turf, shot it, told the camera “this is white,” and moved on. Did that maybe five or six times over the course of the night. Nobody in the stands noticed. That’s the point.
The Miss
Here’s what most new shooters believe about white balance. Set it before the shot. AWB or a Kelvin number, pick one, lock it in, done.
That’s true for a five minute portrait session. It is not true for a three hour outdoor game that starts in sunlight and ends under lights. Light doesn’t hold still just because you already made a decision about it.
White balance isn’t a setting. It’s a note you have to keep bending.
The Photo Lab
The Lesson + Lab
Every SAKI decision you’ve made in this unit, Subject, Aperture, Kelvin, ISO, you’ve probably been thinking of as something you set before you shoot and lock. But stretch that decision across three hours of changing light and it’s not one decision anymore. It’s the same decision, made over and over, every time the conditions change enough to matter.
White balance is the clearest example because the transition from daylight to stadium lights is impossible to miss. But it’s not the only one. Your ISO from Unit 5, Lesson 3 isn’t locked either. Your read on auto and manual from Unit 5, Lesson 2 isn’t locked either. SAKI isn’t four checkboxes you tick before the whistle. It’s four dials you keep your hand on the whole time.
Here’s the actual move, Canon-specific, works for stills and video both. Keep something plain white in your bag, a towel, a card. When the light shifts enough that you notice it, fill your frame with that white object and shoot it at standard exposure. Go into your menu, find Custom White Balance, import that shot as your data. Then set your white balance mode to Custom. Takes fifteen seconds. Costs you nothing.
Try This
Next time you’re shooting anything that runs more than an hour outdoors, pick two points, kickoff and halftime, or start and thirty minutes in. Set custom white balance at both. Don’t touch anything else. Just compare the two sets of images side by side afterward.
Reflection + CTA
You don’t get to make a SAKI decision once and walk away from it. You make it, then you keep checking it, the same way a musician doesn’t just tune before the show and forget the instrument exists for the next two hours. It’s 500,000 decisions and 10,000 hours with a camera in your hand. That’s not extra work. That’s the job.
Trust it. Trust yourself.
-TMac #shooton
